Making a Swatch
Recently, I was at my LYS for a happy hour/trunk show and I started poking around their shelves (as you do). After some back and forth on what color (desperately trying not to pick gray again), I decided to get some Kelbourne Woolens Lucky Tweed to see whether it would make an interesting substitution for my Colvin sweater. Touching and looking at yarn in the skein is one thing (and at that point, I had a pretty good feeling), but it’s never certain until the yarn becomes knitted fabric. And you know what that means . . . I needed to take it home and make a swatch.
For the rest of this post, even if you don’t routinely swatch, I’m going to assume you already understand why swatching for finished fabric is essential, especially for garments. The swatching process can vary depending on many things, and if you have a pattern or yarn in your hands where the designer or manufacturer provides swatching instructions, by all means, follow those instructions. My goal for this post is simply to walk you through the steps I took to determine whether Lucky Tweed would be a suitable substitution for the Hinterland Range yarn featured in the Colvin pattern. During the process, I wanted to find out 1) whether the yarn could achieve the pattern’s finished stitch and row gauge and 2) whether I liked the finished fabric characteristics (at that gauge) for the design and wanted to commit to using it.
Work the swatch
Rather than casting on a random number of stitches and working a random number of rows, then putting a tape measure down to count stitches and rows over 4 inches, I generally take a different strategy when swatching. I set out to create a finished (washed and blocked) fabric that will measure and remain a specific dimension—in this case, an 8-inch (10 cm) square.
Colvin’s finished gauge is 16 stitches and 23 rows = 4 inches (10 cm) in stockinette stitch with a suggested needle size of US 9 (5.5 mm). So, if I wanted to achieve the same finished gauge at twice the size, I needed to double those stitch and row numbers and see what resulted.
Here’s what I did:
Using a US 9 (5.5 mm) needle and the Long-Tail method, I cast on 32 stitches + 2 extra for selvedge stitches that I worked in garter stitch, by working the first and last stitch of every row as knit. (The purpose of the 1-stitch garter stitch is to differentiate the fabric from the edges by changing the stitch pattern.)
Because I didn’t want a purl bump on the bottom edge of the knitted side (RS) of my fabric, I made my first row of knitting a wrong-side row.
After I worked a total of 46 rows (counting the cast-on as the first row and ending with a wrong-side row), I bound off all the stitches knitwise.
Here is what I didn’t do:
I didn’t work several rows and stitches in garter stitch to create a border around my swatch. Why not? Because it doesn’t give you any information. I wanted to know how the fabric would behave. If I stabilized all the edges of my swatch, I wouldn’t have that valuable information. (Will the edges naturally curl or lay flat? If they curl, how much do they curl? Do they lay flat after wet-blocking? What does that mean for my project?)
I didn’t work a smaller swatch. Unless you’re planning to knit a newborn baby sweater, you can’t trust that a four-inch square of fabric will give you the fabrication or gauge accuracy you need in a full-sized sweater.

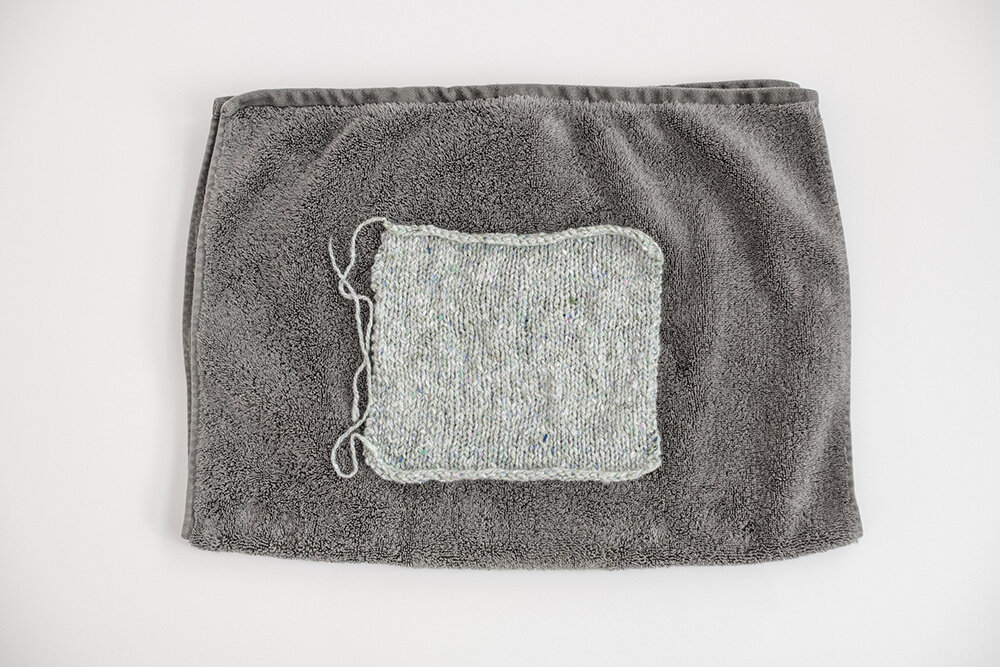
This is what my swatch looked like right off the needles.
Are the edges curling? Yep.
Does it measure a perfect 8-inch square?
Nope. But that’s okay, I didn’t expect it to.
This is my working gauge fabric.
Check the swatch
Before I worked the entire swatch (after I got to 2-3 inches in length), I stopped and took a width and length measurement to see if I was in the ballpark of where I needed to be. My swatch measured a little too wide but it was also not quite the length it needed to be. Since it was only off by a little (about ½ inch in width and a row in length), I decided to keep going on the same needle size knowing that I would be able to make up the difference by manipulating the fabric (more about this later under blocking). If it had measured too wide AND too long, or too narrow AND not long enough, I would have stopped and started over on a different size needle.

I like to wash my knitted fabric with the same gentle soap I use on my hair (a sulfate-free / PH neutral shampoo).
Human hair is protein-based, and so is wool.
Wash the swatch
If you’re asking, “You washed and blocked your swatch?” here is where I pause to give you a smile and a nod. I’m going to wash my finished sweater, right? So yes, of course I washed my swatch. I don’t want any surprises.
I placed the swatch in some lukewarm and slightly sudsy water until it was completely saturated and then let it soak for about an hour. (Unless I am worried about the dye bleeding or very delicate fibers—having read the yarn band for care instructions just in case—I’ll often soak my swatches over night.) Then I changed out the water a couple times to rinse out all the soap.
After gently squeezing out the excess water, I placed the swatch on a clean towel (being careful to keep the fabric compressed in shape), folded in the sides and rolled it up, pressing down firmly to get the swatch as dry as possible.
Block the swatch
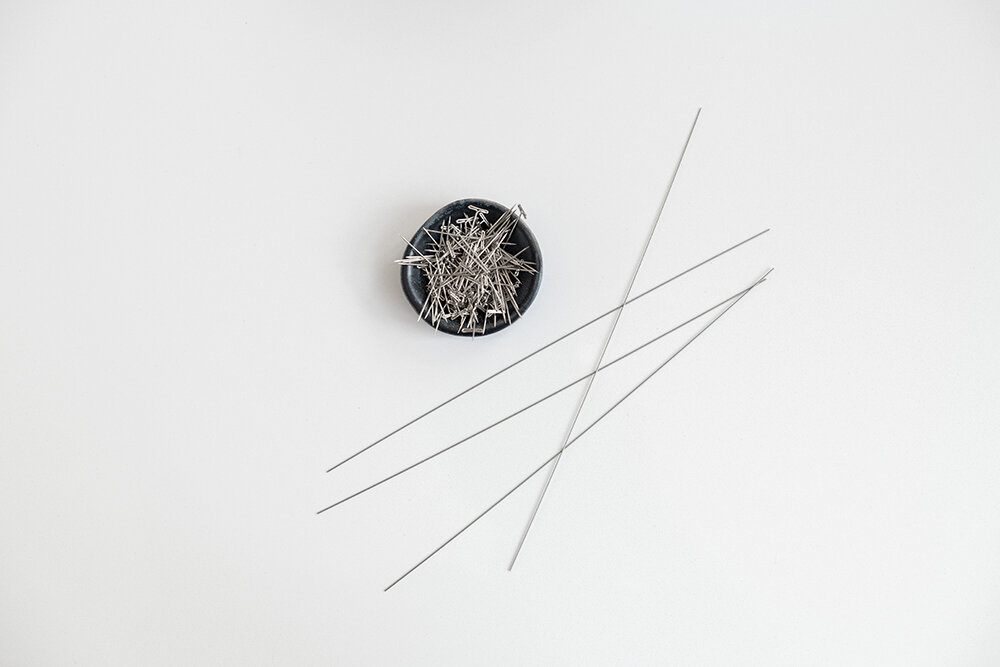
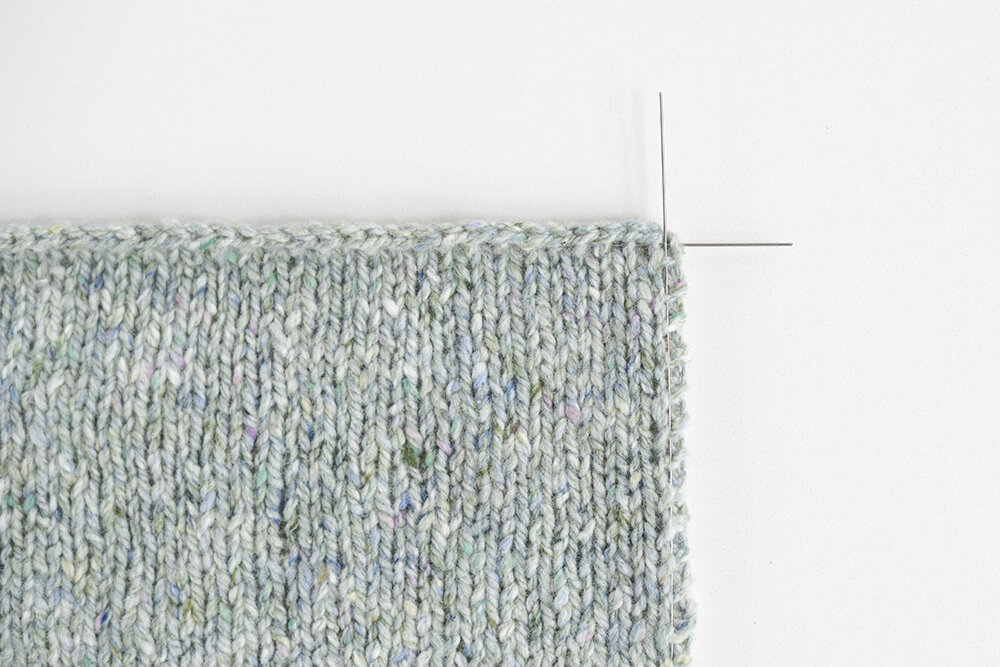
I have a bunch of swatch blocking wires (cut to 10-inch lengths from longer blocking wires) that I put in every single edge of my swatch, just like I would if it was a finished garment piece. Unlike using pins alone, blocking wires create a nice straight edge and even tension across the fabric. For the horizontal edges I placed them on the same “leg” of every stitch across the cast-on row and the last row worked. For the vertical edges, I placed them on the “bar” between the selvedges and the adjacent column of knit stitches in an under-over fashion.

Before washing/blocking, my swatch measured about 8¼ inches widthwise and about 7½ inches lengthwise (ignoring the selvedge stitches at each side edge). At that measurement, my gauge would be closer to 15 stitches and 24 rows = 4 inches (10 cm) and, well, if I was judging my gauge by my unfinished (working) gauge I might be inclined to think that I needed to fire up my calculator to modify the pattern or abandon the project altogether because I “couldn’t get gauge.” But, guess what? I would be wrong.
When a knitted fabric is wet, it can be shaped to a dimension other than what it was when it came off the needles, and because my fabric contains enough of the magical fiber that is wool, it will do its best to stay that shape when it’s dry.
So knowing that I wouldn’t need to distort my fabric beyond 10% either direction, I shaped my swatch out to a perfect 8-inch square and pinned it evenly all the way around. You’ll notice that by stretching my swatch lengthwise to reach 8 inches, my fabric automatically became narrower, making it the desired width I needed without doing anything further. (The inverse of this is stretching the swatch widthwise which causes the fabric to become shorter lengthwise.)
I have made countless swatches over the years. It’s how I create an arsenal of knitted fabrics that become designs (or drink coasters), so this process is exciting and goes quickly for me. Assuming I haven’t lost you already, there is one final thing I did that I encourage you to try, as well. I let my swatch “rest” a couple of days (when I’m designing it can be weeks or months) to see if the fabric measurements changed in either direction. Some yarns contain fiber or are constructed in a way that will tend to shrink back a little. If that happens, and it’s not more than 10% either way, you can soak your swatch again and “over-block” it by the same amount it shrunk, to see if (after it’s been allowed to dry and relax again), it will hold at the dimensions you were trying to achieve.

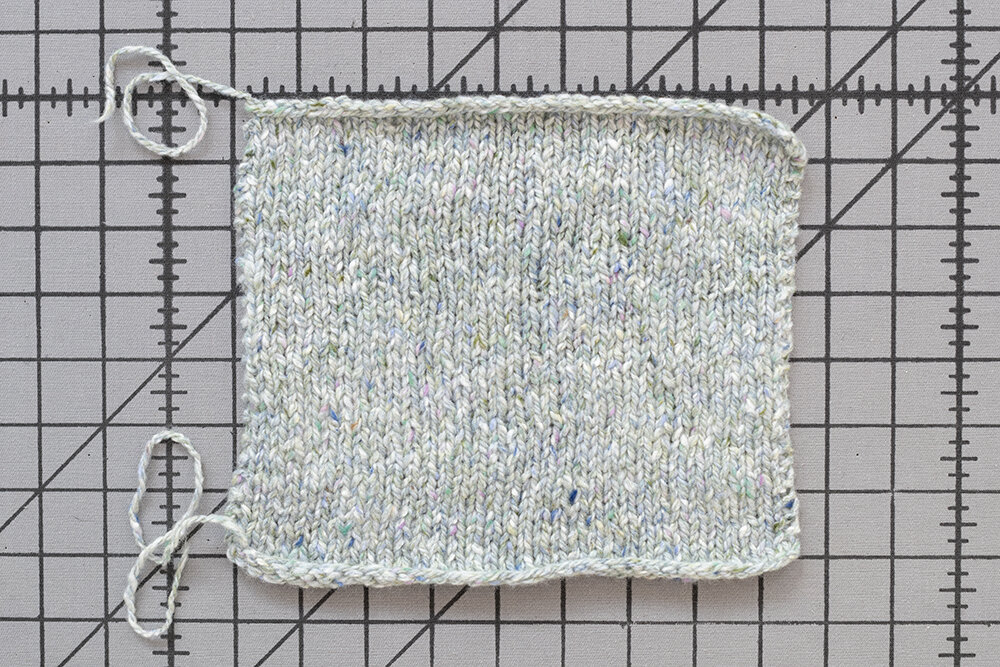
Above is my 8-inch square swatch that came off the blocking board last week and still measures a perfect 8-inch square, hanging next to my original yarn swatch.
The answer to whether the yarn could achieve the pattern’s finished stitch and row gauge is yes; and the answer to whether I liked the finished fabric characteristics for the design and wanted to commit to using it is also yes. I’m looking forward to having a fun, tweedy merino wool version of Colvin in my closet . . . I hope, soon!
Try it yourself
This post doesn’t cover swatching for every possible scenario (there’s patterns that have complicated stitch patterning and particular yarns that need extra consideration when swatching), but the steps in my process that I’ve described above can certainly be applied to many. This post also doesn’t cover all the myriad things to consider when substituting yarns in the first place, but hey, there’s some great articles on that subject already.
At the very least, the next time you ask yourself if you should swatch, I hope the answer is, “Yes!”